Description
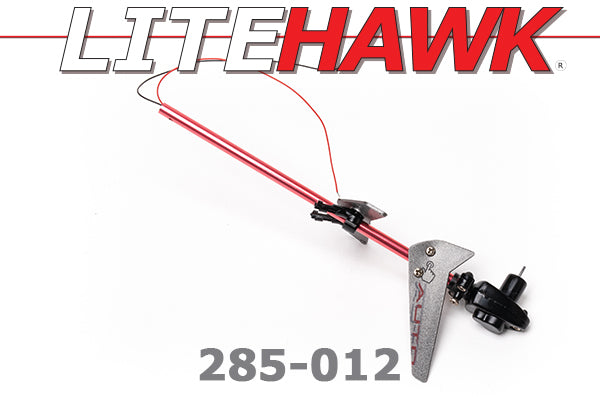
This LITEHAWK III Tail Boom assembly comes complete, but the wiring needs to be soldered in place when installed.
LITEHAWK III- Removing the Tail Rotor Assembly
You will need to remove the 9 side body screws from the right hand side of the Heli' with the tail rotor wires running inside of the upper chassis steel cover plate. Then the 2 tail rotor support rod screws. Don't lose the two tail rotor support screws, they are a longer screw, the same as the 2 screws that hold the ESC to the Lower Chassis. They are the only 4 screws that length.
Set the tail rotor support rods aside. These rods are a specific right and left when you go to replace them. They only fit on the correct side. Now remove the battery from its cradle, so you can access the solder points on the ESC. Desolder the red and black wires from the Tail Rotor Assembly. Now remove the single screw that holds the Tail Rotor assembly on, and carefully pull it out of the rear of the Heli's main chassis. You may have to give it a bit of a gentle twist to get it to move, and you can slide it right out.


